logo
뉴스

회사 소식 Common Troubleshooting for Automatic Cappers: Ultimate Solutions Guide

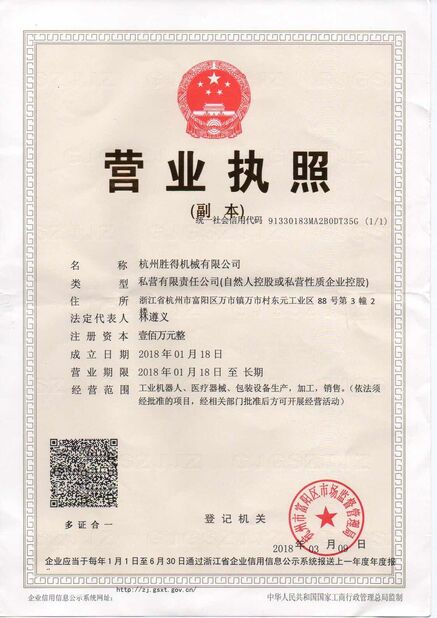
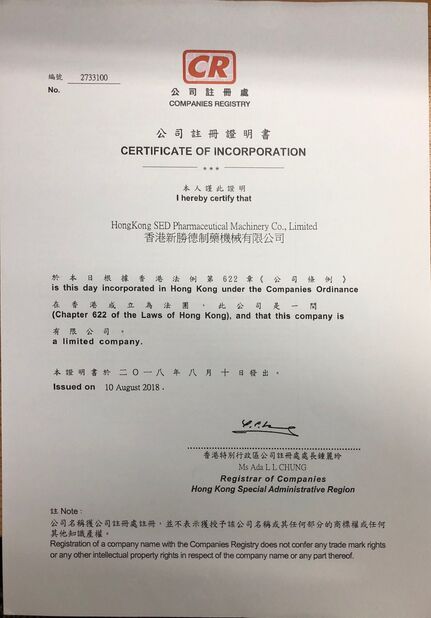
인증
중국 Hangzhou SED Pharmaceutical Machinery Co.,Ltd. 인증
고객 검토
 나는 우리의 분무 건조기, 고속 건조를 위한 정확한 분무기를 선택하는 당신의 노력 전부를 당신을 감사하고 싶으면. 분무기, 습기의 95%-98%를 통해서 분무화 후에 많게 증가시킨 고열 기류에서 원료 액체의 표면만, 필요 두번 째 즉각 증발할 것입니다.

—— Fatih BÜYÜKEGEN

나는 진짜로 당신을의 당신 감사하는 방법을 입니다 나의 천사 모릅니다, 대단히 대단히 감사합니다. 이 것을 분쇄하는 최고 벌금은 다른 동일한 힘 기계 보다는 더 빠르 운영하기 쉽습니다 그리고 고쳐.

——  Hamid Doroudian 

제가 지금 온라인 채팅 해요
회사 뉴스
Common Troubleshooting for Automatic Cappers: Ultimate Solutions Guide
에 대한 최신 회사 뉴스 Common Troubleshooting for Automatic Cappers: Ultimate Solutions Guide

An automatic capping machine is a crucial piece of equipment in modern production lines, and its stable operation is directly related to packaging efficiency and product quality. This guide provides a detailed troubleshooting list to help you quickly identify and solve common problems with your automatic capping machine, minimizing downtime.


Understanding the Automatic Capping Machine

An automatic capping machine uses a precise mechanical structure, pneumatic system, or servo control to automatically pick up, position, and tighten bottle caps. These machines play a vital role in various industries like food and beverage, pharmaceuticals, cosmetics, and chemicals, where capping quality directly affects a product's seal integrity and safety.


Preparation and Safety Checklist

Safety First: Before any work begins, ensure the machine is completely stopped. Turn off and lock out the power and air sources, and place a safety warning tag on the equipment.


Gather Your Tools: Have all necessary maintenance tools ready, including a torque wrench, Allen wrench set, screwdriver set, and measuring calipers.


Essential Documents: Keep the equipment's operation manual, electrical schematics, and spare parts list close at hand.


Common Failures and Step-by-Step Solutions for Automatic Capping Machines

1. Incorrect Capping Torque

Symptoms:

  • Cap is too tight: Can lead to bottle deformation or make the cap difficult for the end-user to open.
  • Cap is too loose: Causes product leakage, compromising the product's seal and integrity.


Troubleshooting Steps:

  1. Calibrate Torque Settings: Use a professional torque testing meter to calibrate the machine. Adjust the friction clutch or the servo motor parameters according to your product's specific torque requirements.
  2. Check the Pneumatic System: Confirm that the air pressure is stable within the recommended range of 0.6-0.8 MPa. Also, check that the pressure reducing valve is working correctly to ensure a consistent air supply.
  3. Inspect for Wear and Tear: Carefully examine the friction pads, grippers, and O-rings on the capping head. Wear on these components can lead to unstable torque. Replace them as needed.
  4. Adjust Height Settings: Recalibrate the vertical height of the capping head. Ensure it makes accurate contact with the bottle neck to prevent issues caused by improper contact.


2. Cap Grabbing and Dropping Failure

Symptoms:

  • The capping head fails to grab a cap from the chute.
  • The cap drops during the capping process before it is secured.


Solutions:

1. Check Cap Quality: Measure the caps to ensure their dimensions meet specifications. Deformed caps or those with burrs are a common cause of grabbing failures.

2. Inspect the Grabbing Device:

  • Mechanical Type: Check if the spring tension of the grippers has weakened or if the grippers themselves are worn.
  • Vacuum Type: Test the seal of the vacuum lines and clean or replace the suction cups to ensure sufficient vacuum force.

3. Clear the Cap Chute: Remove any debris or broken caps from the cap chute. Adjust the width of the chute to ensure a smooth flow of caps.


3. Skewed or Crooked Capping

Symptoms: The cap is not parallel to the bottle opening and appears crooked.


Troubleshooting Methods:

  1. Inspect Bottle Quality: Confirm that bottles are not deformed and that all bottle openings are uniform in size.
  2. Adjust the Centering Device: Calibrate the bottle-holding mechanism (e.g., side belts or clamps) to ensure the bottle is precisely centered as it enters the capping station.
  3. Check Machine Concentricity: Ensure the capping head, bottle support, and conveyor belt are all perfectly aligned. Concentricity is crucial for straight capping.
  4. Verify Machine Level: Use a level to check if the machine is installed on a flat surface. An uneven base can cause shaking and skewed capping.


4. Cap Jamming and Blocking

Symptoms: Caps get stuck in the cap sorter bowl or the delivery chute.


Quick Fixes:

  1. Stop the Machine Immediately: Power down the equipment and remove any foreign objects or broken caps from the sorter bowl and chute.
  2. Adjust Chute Gap: Match the chute's gap to the cap's dimensions to ensure smooth passage.
  3. Inspect the Sorter Disc: Check for wear on the sorter disc's guide rods and adjust the disc's rotational speed as needed.


5. Abnormal Noise and Vibration

Symptoms: The machine produces unusual noises or excessive vibration during operation.


Key Inspection Points:

  1. Check Fasteners: Perform a comprehensive check of all bolts and screws on the machine. Prolonged vibration can cause them to loosen.
  2. Lubrication and Maintenance: Refer to the machine's manual and add the appropriate amount of lubricant to bearings, guide rails, and other moving parts to reduce friction.
  3. Inspect the Drive System: Check the tension of the belts and inspect gears for any damage or missing teeth.


6. Electrical Control System Failures

Symptoms: The machine is unresponsive or its movements are erratic.


Diagnostic Methods:

  1. Check Sensors: Clean all photoelectric sensors and proximity switches. Dust or dirt can interfere with their signals. Adjust their detection distance if necessary.
  2. Inspect Wiring: Check terminal connections for looseness and inspect cables for any damage or signs of wear.
  3. Examine the PLC: Check the PLC's (Programmable Logic Controller) status for any error codes or indicator lights. Monitoring input/output signals through the PLC's software can help quickly pinpoint the source of the problem.


For complex faults or when core components need to be replaced, it is recommended to contact the equipment manufacturer or a professional repair service team. Keep the equipment serial number and purchase information so that you can quickly obtain genuine spare parts and technical support.


에 대한 최신 회사 뉴스 Common Troubleshooting for Automatic Cappers: Ultimate Solutions Guide  0


Preventive Maintenance Plan

To ensure the long-term, stable operation of your equipment, we recommend implementing the following maintenance schedule.

Frequency Task Details and Standards
Daily 1. Machine Cleaning Clean the machine surface (especially capping heads, conveyor belt, rails) with an air gun and cloth to remove dust, oil, and product residue after shutdown.
2. Air Supply Check Check that air pressure is stable within the required range (typically 0.6~0.8 MPa); Drain water from the air filter regulator to ensure clean, dry air.
3. Basic Lubrication Apply specified light lubricating oil to a few key exposed rails, cylinder rods, etc. Avoid contaminating bottles or caps.
4. Visual & Audio Inspection Perform a basic check for abnormal noises, loose parts, or other obvious issues before startup.
Weekly 1. Fastener Check Check and tighten all screws, bolts, and mounting plate connections to prevent loosening due to vibration.
2. Sensor Cleaning Power off. Gently clean the lenses/sensing surfaces of all photoelectric sensors and proximity switches with an alcohol wipe to ensure reliable function.
3. Wear Parts Inspection Check the wear level of consumables like capping head grippers, friction discs, vacuum cups, conveyor belts, and rails. Assess remaining lifespan.
4. Safety Function Test Test the functionality of emergency stop buttons and safety guards.
Monthly 1. Comprehensive Lubrication Lubricate all designated moving parts (bearings, guide rails, sliders, gears) with the appropriate grease or oil as per the manual.
2. Drive System Inspection Check the tension and wear of timing belts, chains; adjust or replace if necessary. Check motors for smooth and quiet operation.
3. Torque Calibration Use a certified torque tester to perform multiple measurements. Compare with machine display value and calibrate to the required process range.
4. Pneumatic System Check Inspect all air hose connections for leaks. Check cylinders for smooth and powerful movement.
Annually 1. Seal Replacement Perform a major overhaul. Replace all main internal O-rings, seals, and pneumatic valve seals to prevent aging and leaks.
2. Motor & Drive Inspection Check the operation and precision of servo motors, gearboxes, etc. Clean motor cooling fans. Check electrical terminals for tightness.
3. Full Machine Recalibration Perform a comprehensive calibration of machine level, capping head-to-bottle concentricity, lift height, and other mechanical parameters to restore factory accuracy.
4. Control System Check Clean dust inside the electrical cabinet. Check contacts of breakers, contactors, relays. Back up the PLC program.


Conclusion

The automatic capper is vital for achieving stable quality and efficient operation on a pharmaceutical packaging line.


By understanding common failures, applying rapid troubleshooting methods, and following a preventive maintenance plan, companies can optimize production, ensure compliance, and maintain a competitive edge in the market.

선술집 시간 : 2025-09-22 15:07:45 >> 뉴스 명부
연락처 세부 사항
Hangzhou SED Pharmaceutical Machinery Co.,Ltd.

담당자: Ms. Wei

전화 번호: 86-15372434551

팩스: 86-571-88615836

회사에 직접 문의 보내기 (0 / 3000)